I built the grilles.
1. Home Depot has 3/8 inch square stock 36 inches long for 89 cents each. I bought 7 of those.
2. I cut to length and then clamped each corner in a picture frame type corner clamp, drilling a small pilot hole for an inch long very thin drywall screw at each corner.
3. I used just a 3/8 inch drill bit to recess so the flat screw head would be flush.
4. Be careful here the small wood won't split if you do the pilot hole unless you get aggressive with your electric screwdriver. Drive the screw with each corner still in the clamp.
5. I also put a center cross brace in the position between the woofer and mid.
6. This seems flimsy at this point, but I cut 1 1/2 x 1 1/2 inch squares of 3/16 inch Poplar stock (also available at Home Depot in small pieces. any thin scrap lumber would do.)
7. I considered using mechanical connectors to position these squares like I had used on the projection screen corners , either screws or brads, but was in link below but I was fearful of cracking the frame.
8. What I did was glue these squares at each joint including the center brace joints using Aleene's tacky glue the Quick Dry version. This is a wonderful product and is carried in the Wal-mart and other crafts departments. It looks like Elmer's but stickier and dries much faster. This glue would also work very well to attach foam surrounds and for general speaker building as well. Plus as glue goes it's pretty cheap. Every speaker builder could use a bottle.
9. I clamped my little squares using a couple of large spring clamps I had found at a local dollar store. I wasnt sure if they would do the job but they worked perfectly. Check your local dollar stores for these as they are coming out of China, and for a dollar each you could even afford to own more than two. Interestingly the wood squares were secure with only about 20 minutes of dry time and I moved along pair by pair.
10. The frames then got spray painted flat black.
11. The grille cloth is the stuff PE sells. I had some on hand waiting for this day.
13. I cut, stretched and stapled the grille cloth in place using the same techniques I had learned building home theater screens (see below)
14. I attached the grilles just using velcro strips. Some may prefer the plastic deals but they are tough to align perfectly. The frames are so light I don't think anything more than Velcro is needed. Besides the little corner and brace blocks provide a great place for the Velcro.
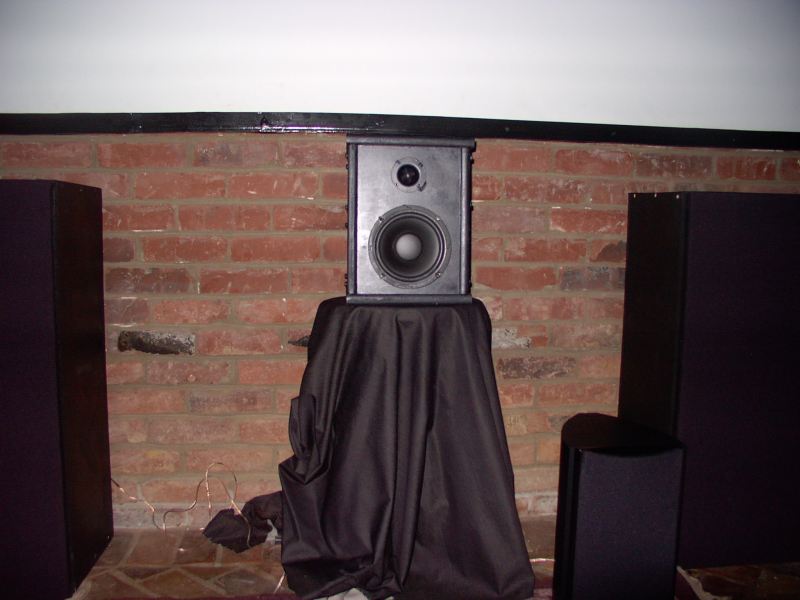
The grill sits 3/16 out from the speaker--ie there is a 3/16 inch gap except at the corner blocks. I am fine with this. The framed grille cloths look quite good as in like a commercial speaker.
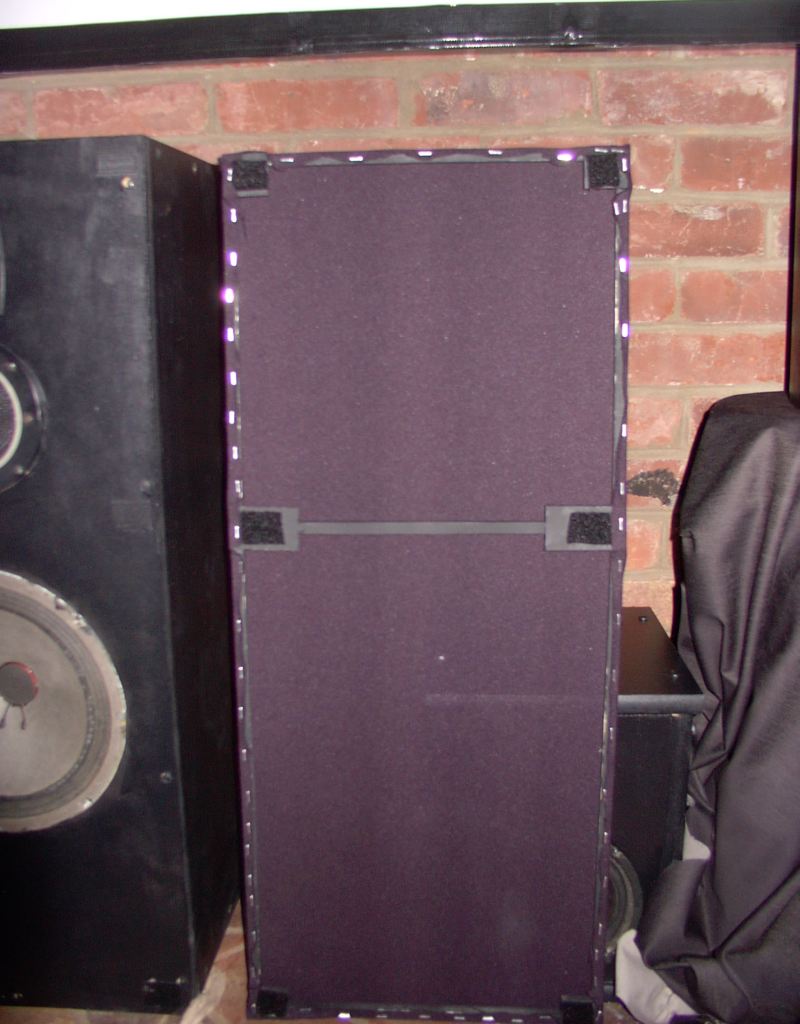
The flash gives an uneven sheen to the satin black paint that looks better in real life
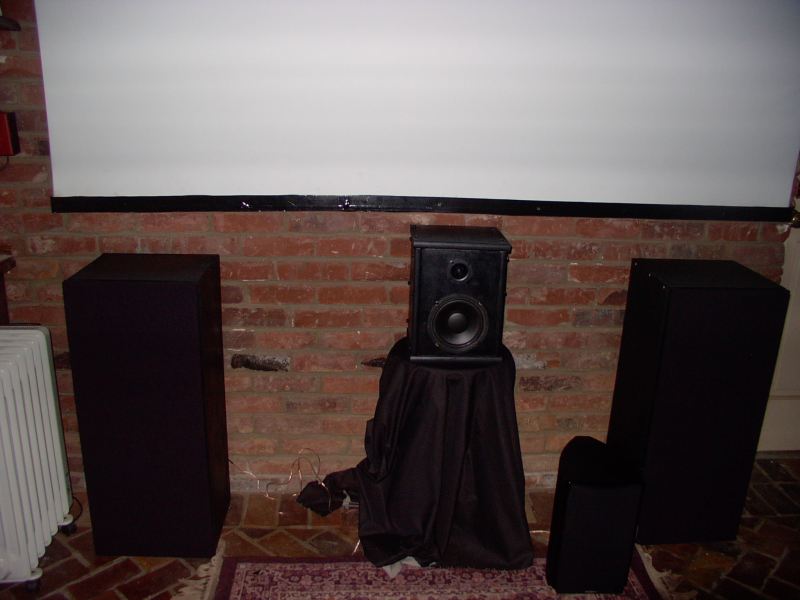
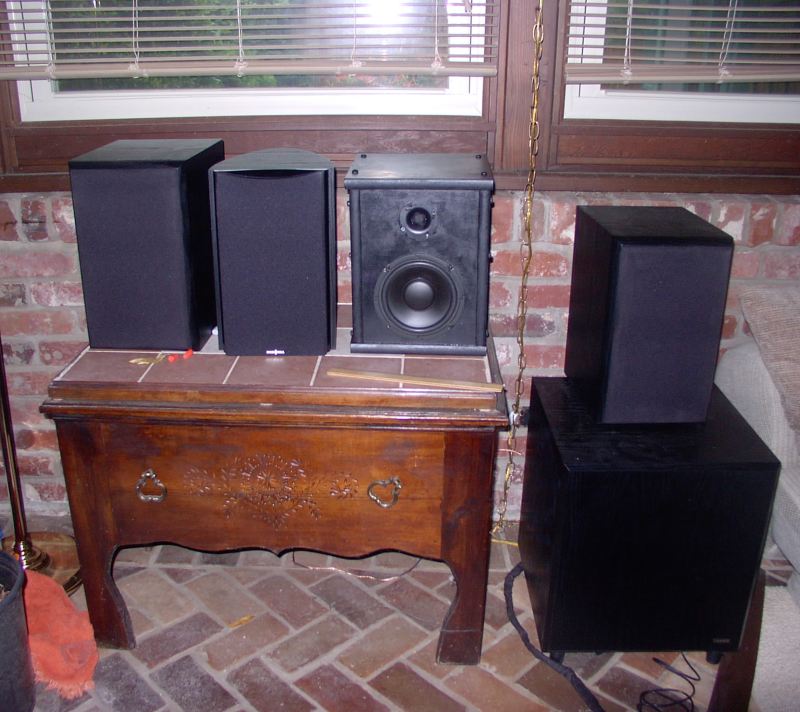
I'm "auditioning" the Insignias as a alternative to my now black-painted front and rear center channels. I havent decided which I am going to stick with.
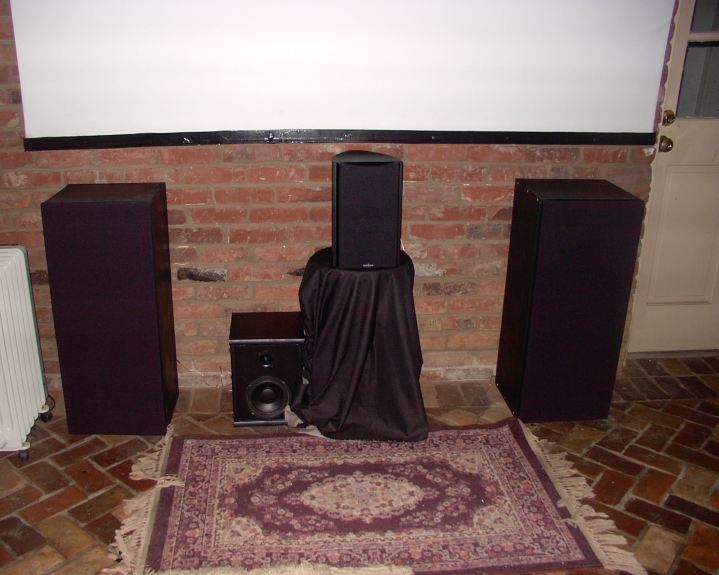
Rear sides are BR-1's. That's the buyout PE/Advent 12 inch sub.